
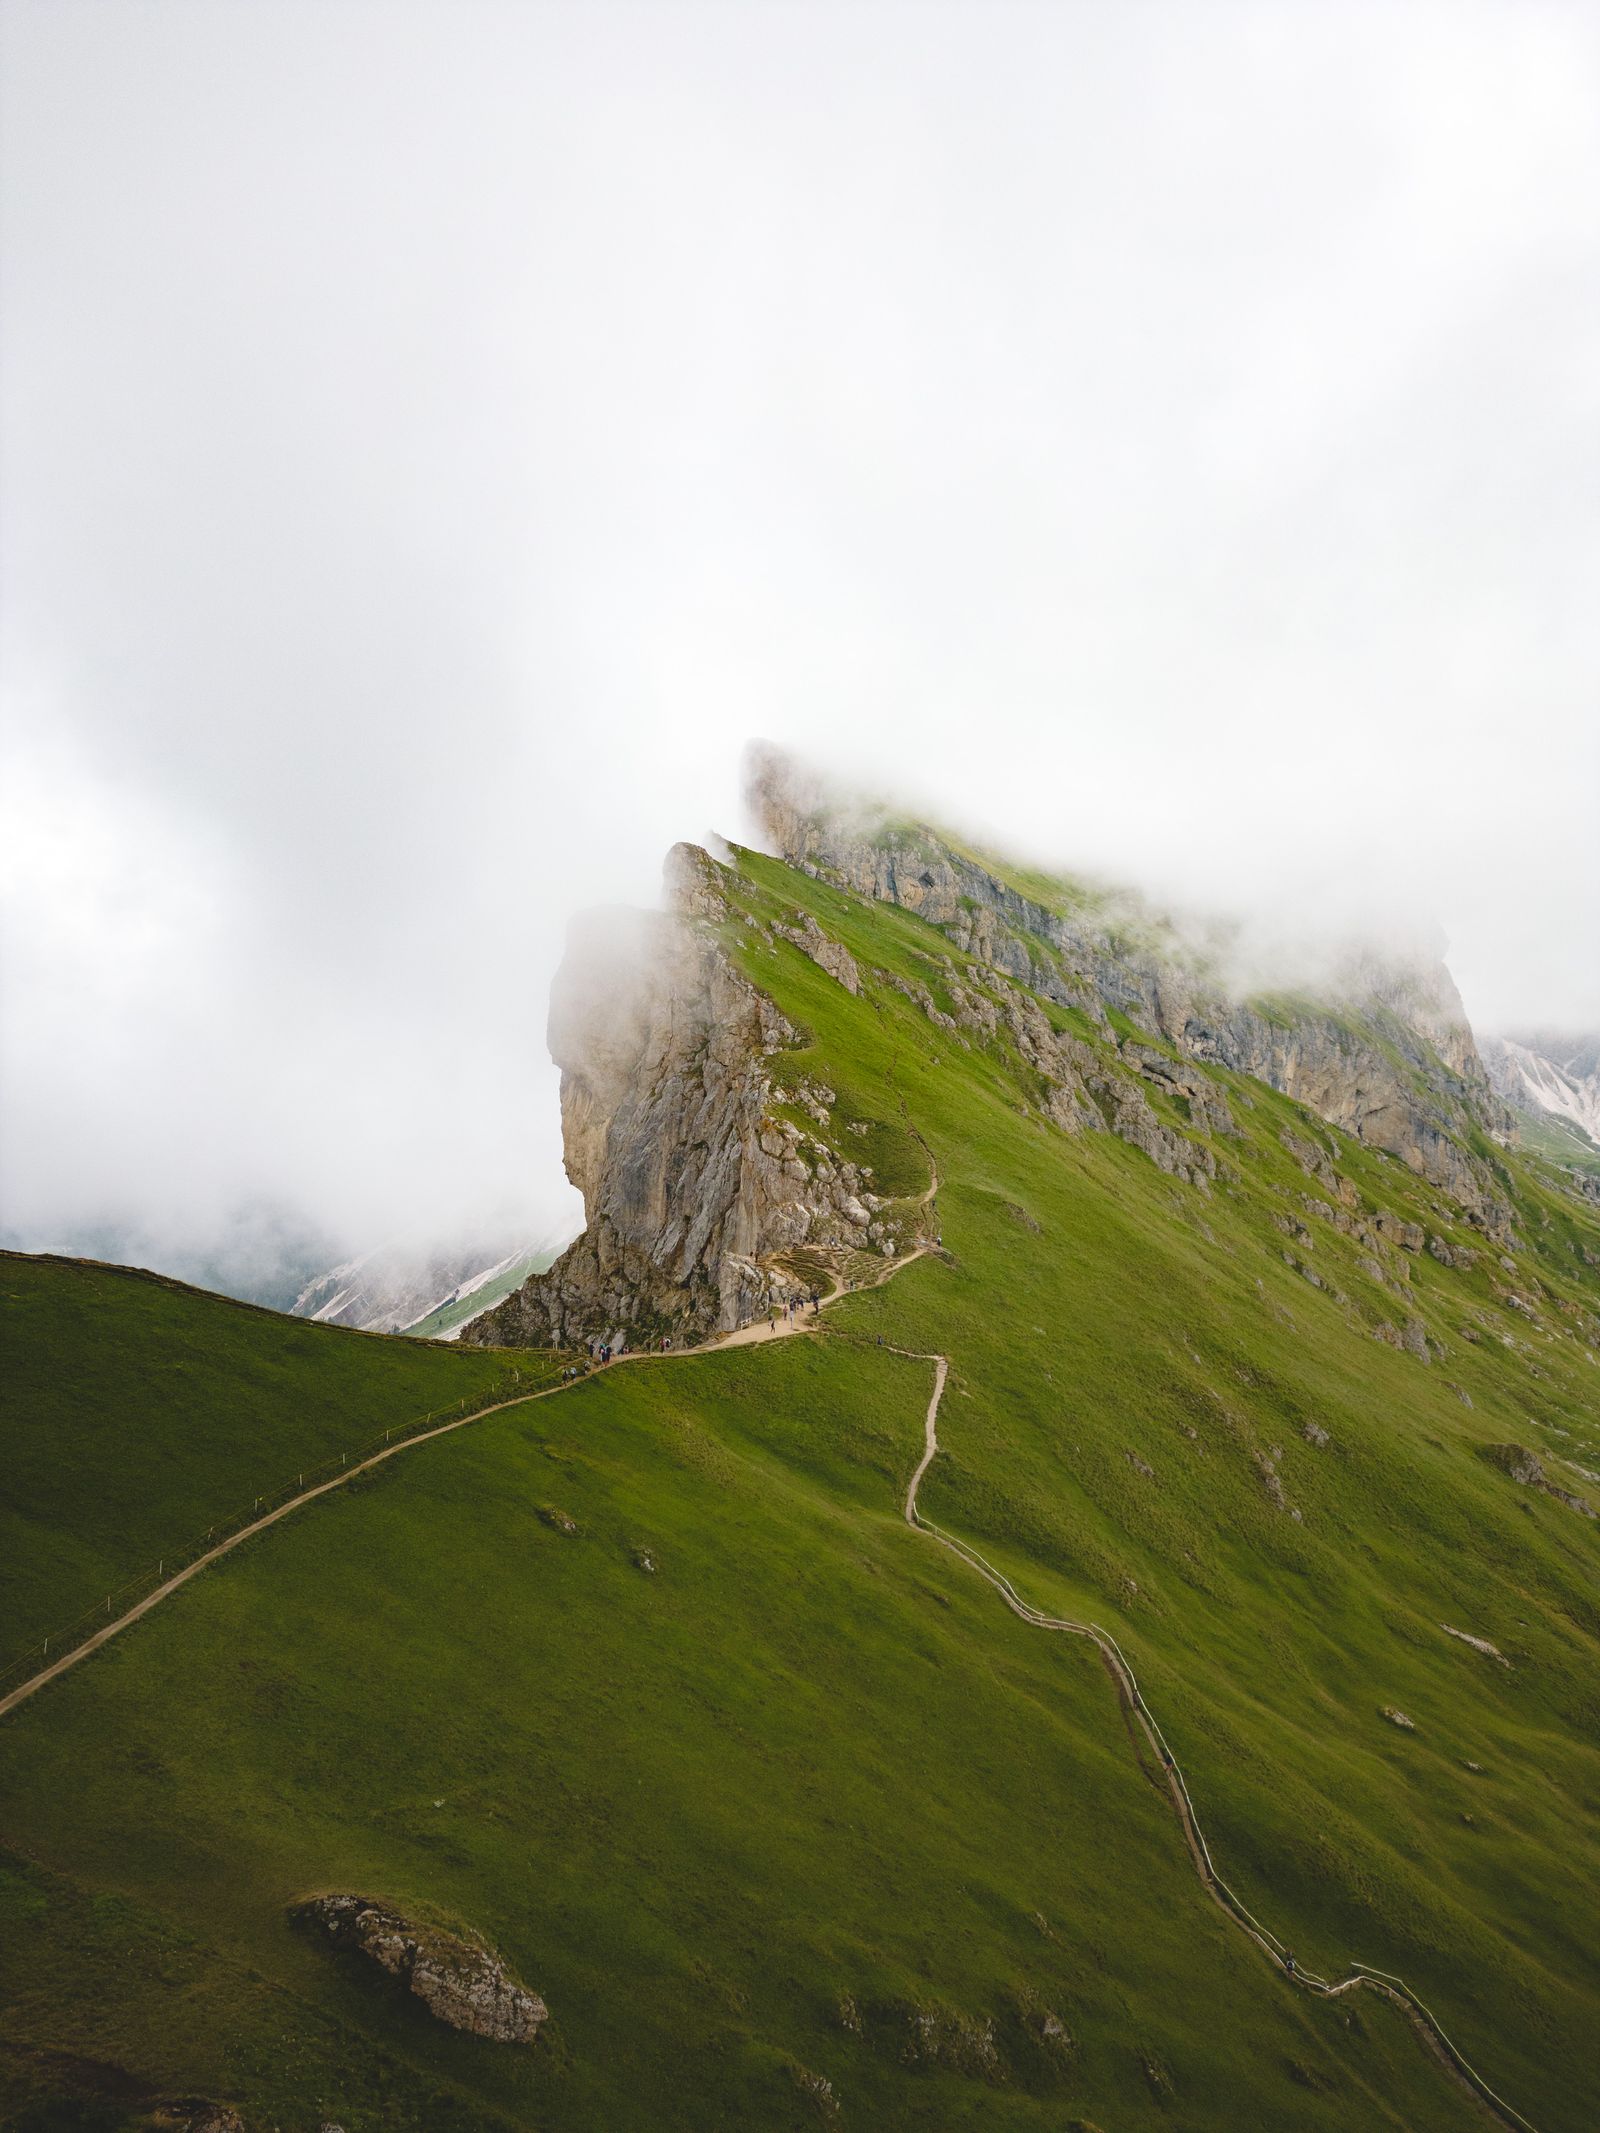
Dolomites Family Hiking Itinerary: 7 Days
Who this family route is designed for
This draft assumes children already have mountain-trail experience, are comfortable spending sustained time on uneven dirt and stone paths, and can follow adult instructions near slopes, livestock, roads, and lift platforms. It also assumes one responsible adult can turn the whole group around without schedule pressure and will adjust the day to the slowest child.
It is not a guarantee that any trail is suitable for a particular child or adult. Families with younger children, no mountain experience, balance concerns, relevant medical conditions, or a need for stroller-accessible routes should ask the local tourism office or a qualified guide for a different plan.
No distance, elevation, walking-time, or difficulty estimate in a draft can establish that a mountain route is suitable. Before every outing, confirm the exact distance, ascent and descent, expected walking time, difficulty, and current trail and lift status with the official nature-park authority, relevant rifugio, lift operator, and current CAI trail signage.
- Trail-experienced children who can manage sustained uneven walking
- Comfort on uneven, sometimes exposed mountain paths
- No stroller assumption and no via ferrata or scrambling
Equipment, conditions, and adult responsibility
Transport and reservation checks
Official condition checks
Use these sources, local tourism offices, and park authorities before each outing
Official condition checks
Use these sources, local tourism offices, and park authorities before each outing
Val Gardena and Seceda
Lift status, hiking information, and local advice
Alta Badia and Pralongiá
Official route description and current visitor information
Braies and Tre Cime
Traffic reservations, shuttles, and local restrictions
Mountain weather and emergencies
Check the provincial forecast and know the European emergency number 112
7-Day Itinerary Breakdown
Day 1: Arrive in Ortisei & Test the Group
Full option: a short, mostly level village-and-valley shakedown. Short option: a brief paved village loop. Before setting out, confirm the exact distance, ascent and descent, walking time, difficulty, and current trail or lift status with the local tourism office, nature-park authority, or CAI trail signage.
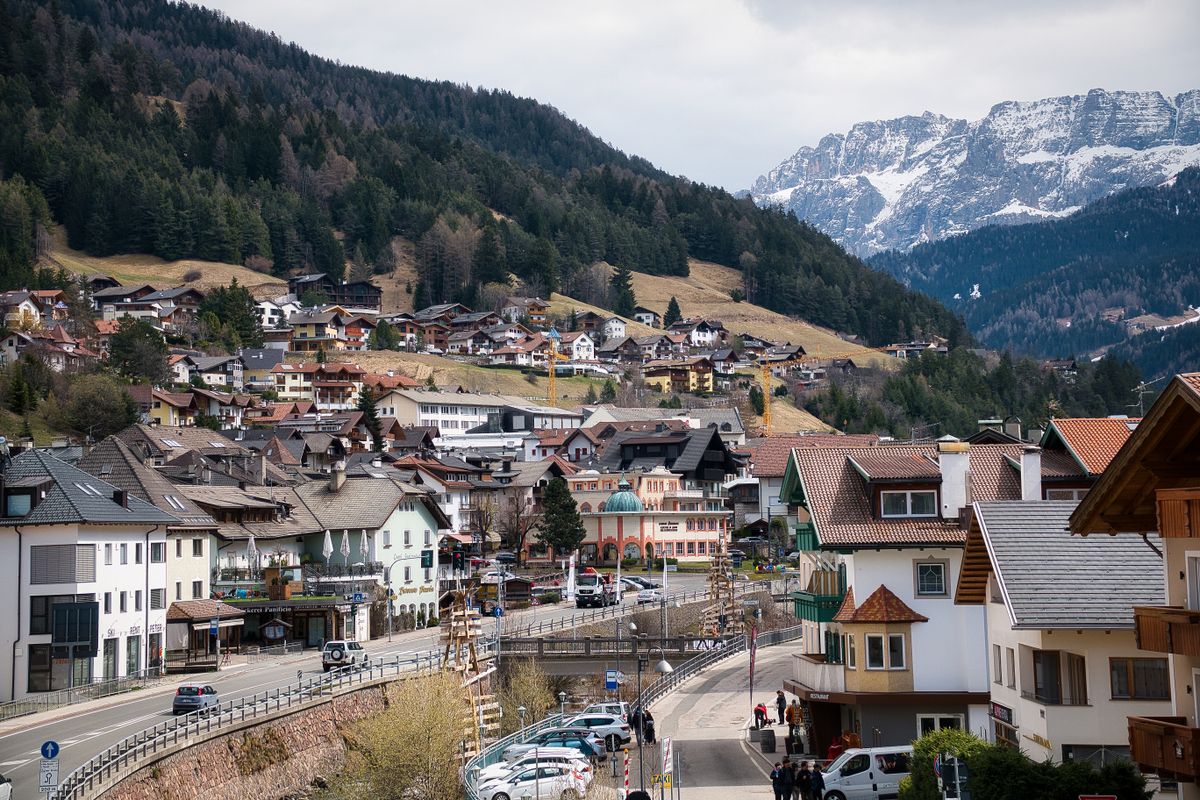
Settle in and check the week's conditions
Visit or contact the local tourism office for trail closures, lift operations, forecasts, and family advice. Confirm that every child has suitable footwear and layers before going higher.
Ortisei valley shakedown walk
Use a short, mostly level signed village or valley path and turn back at the first sign of foot pain or fatigue; the lower-risk alternative is a brief paved center loop close to the hotel. Confirm the exact distance, ascent and descent, walking time, difficulty, and current trail or lift status with the local tourism office, nature-park authority, or CAI trail signage before setting out.
Day 2: Alpe di Siusi Introductory Plateau Walk
Full option: a longer plateau loop on broad established paths. Short option: a brief out-and-back near Compaccio. Confirm the exact distance, ascent and descent, walking time, difficulty, and current trail and lift status with the official Alpe di Siusi lift operator, nature-park authority, relevant rifugio, and CAI trail signage before setting out.
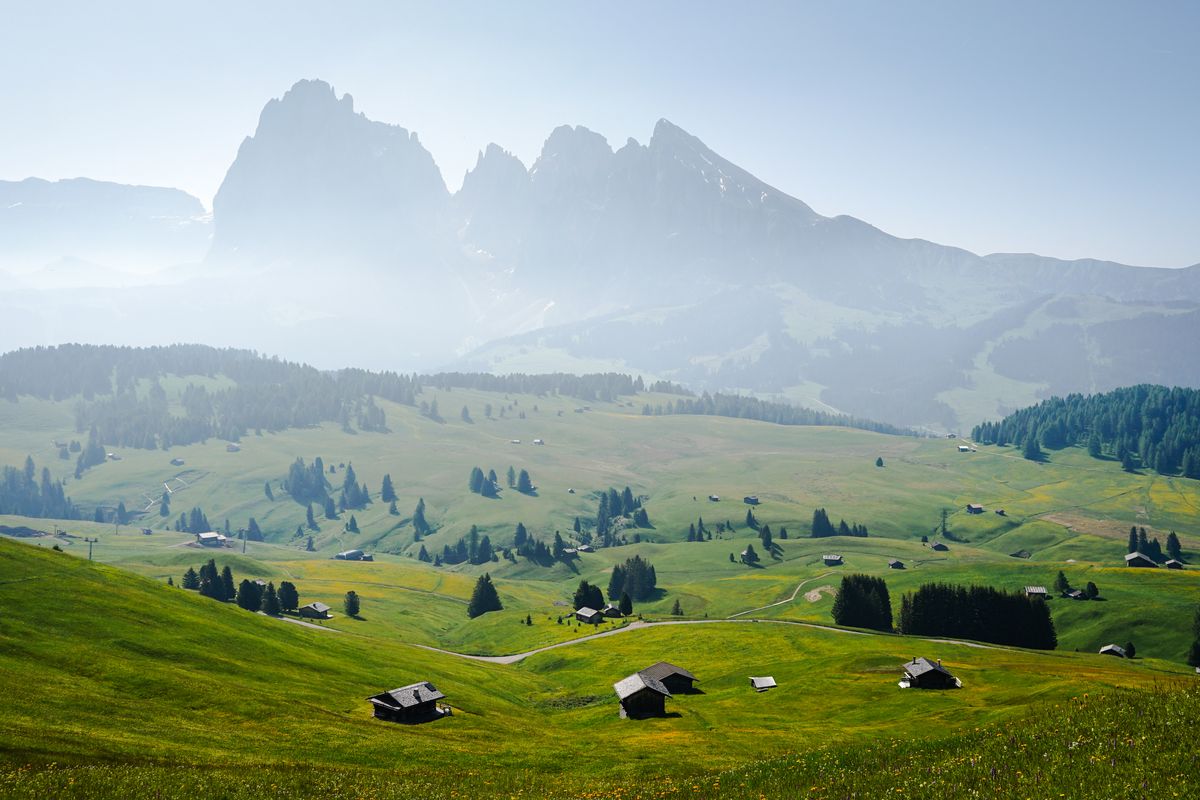
Lift to Alpe di Siusi and select the route on site
Confirm the lift operator's last descent, official weather, and an appropriate marked route before leaving the station. Choose a longer plateau loop only if the whole family is moving comfortably on broad established paths. Confirm its exact distance, ascent and descent, walking time, difficulty, and current trail and lift status with the official Alpe di Siusi operator, nature-park authority, relevant rifugio, and CAI trail signage before setting out.
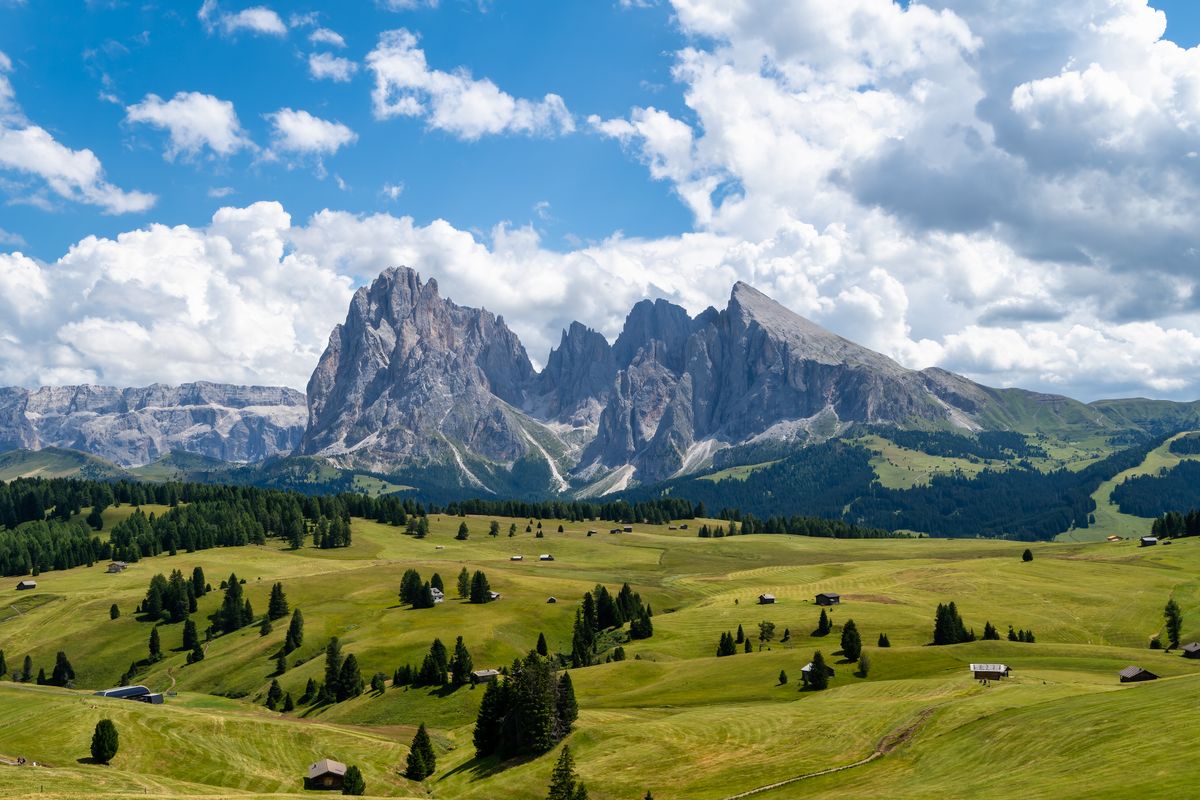
Compaccio out-and-back and early lift down
Remain near the lift station on a brief marked out-and-back, or skip the trail and enjoy the immediate viewpoint. Descend well before the last lift if afternoon cloud builds, wind rises, altitude affects the children, or anyone tires. Confirm the exact distance, ascent and descent, walking time, difficulty, and current trail and lift status with the official Alpe di Siusi operator, nature-park authority, relevant rifugio, and CAI trail signage before setting out.
Day 3: Seceda Viewpoint & Meadows
Full option: a steady high-plateau walk on a locally confirmed path. Short option: a brief viewpoint out-and-back near the top station. Confirm the exact distance, ascent and descent, walking time, difficulty, and current trail and lift status with Seceda Cableways, the nature-park authority, a relevant rifugio, and CAI trail signage before setting out.
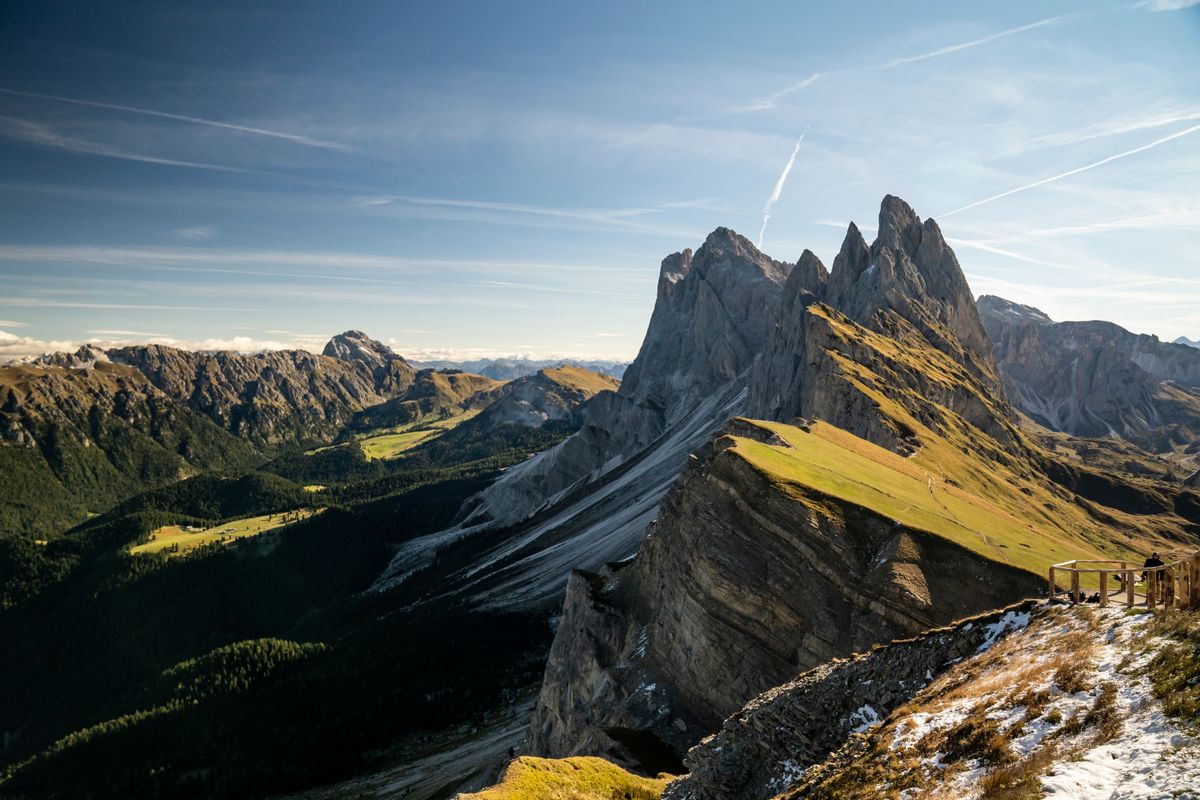
Seceda top-station viewpoint route
After checking the operator's last descent and current trail status, use the marked path to the main viewpoint and continue only on a route officially confirmed appropriate that day. Expect a steady high-plateau walk whose demands change with wind, cold, mud, or lingering snow. Confirm the exact distance, ascent and descent, walking time, difficulty, and current trail and lift status with Seceda Cableways, the nature-park authority, a relevant rifugio, and CAI trail signage before setting out.
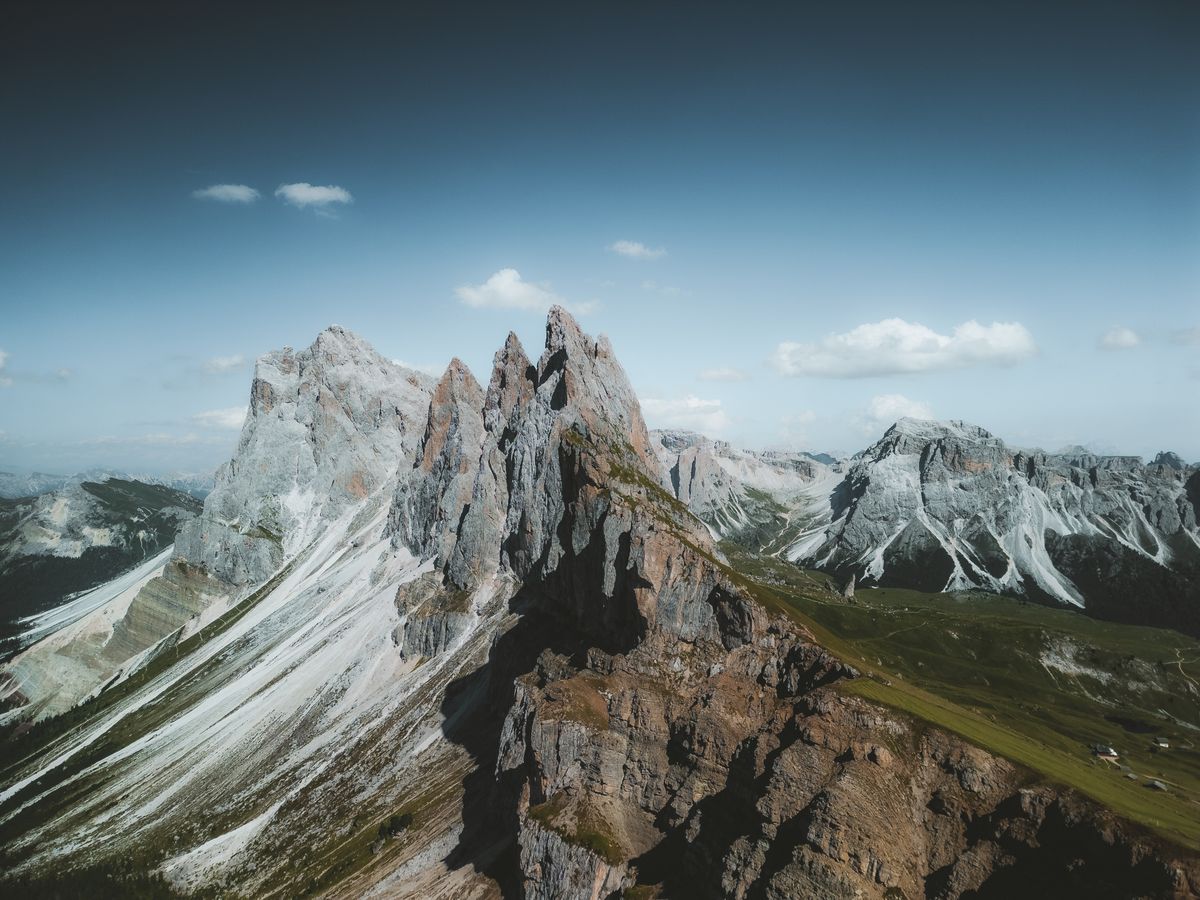
Stay close to the Seceda lift station
Make a brief marked out-and-back close to the staffed lift station, never crossing a closure or approaching a steep edge. If visibility is poor, wind is strong, afternoon cloud builds, or altitude slows a child, descend rather than forcing a hike. Confirm the exact distance, ascent and descent, walking time, difficulty, and current trail and lift status with Seceda Cableways, the nature-park authority, a relevant rifugio, and CAI trail signage before setting out.
Day 4: Transfer to Corvara & Recovery Walk
Driving time varies substantially with pass traffic and weather. Recovery option: a short low-level walk near services. Confirm the exact distance, ascent and descent, walking time, difficulty, and current trail status with the local tourism office, nature-park authority, relevant rifugio, or CAI trail signage before setting out.

Transfer from Ortisei to Corvara
Check official road and bus notices before choosing a mountain-pass route. Do not follow a navigation shortcut onto unsuitable roads, and stop if the driver is tired or weather makes the pass uncomfortable.
Corvara village and valley recovery loop
Ask the local tourism office for a short, low-level marked path near services; the lower-risk alternative is a brief paved village loop or a complete rest afternoon. Confirm the exact distance, ascent and descent, walking time, difficulty, and current trail status with the local tourism office, nature-park authority, relevant rifugio, or CAI trail signage before setting out.
Day 5: Pralongiá Family Plateau
Full option: a longer plateau route with sustained walking, climbing, and descent. Short option: a shorter out-and-back from the lift area. Confirm the exact distance, ascent and descent, walking time, difficulty, numbered route, and current trail and lift status with Alta Badia's official route information, the lift operator, a relevant rifugio, and CAI trail signage before setting out.
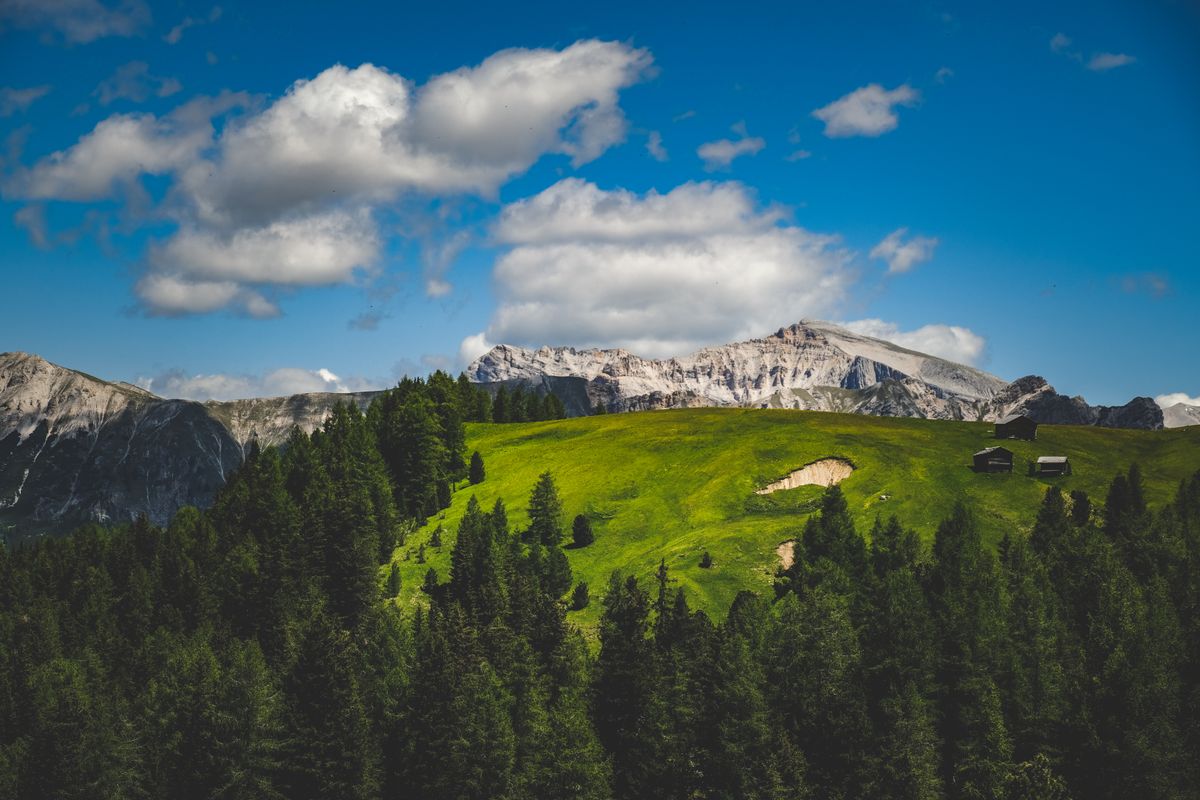
Pralongiá–Bioch–Arlara plateau route
Treat the Pralongiá–Bioch–Arlara outing as a longer plateau route with sustained walking, climbing, and descent, not as a fixed family difficulty grade. Confirm the lift-assisted start, last descent, numbered trail, surfaces, weather, bailout points, exact distance, ascent and descent, walking time, difficulty, and current trail status with Alta Badia's official route information, the lift operator, a relevant rifugio, and CAI trail signage before committing.
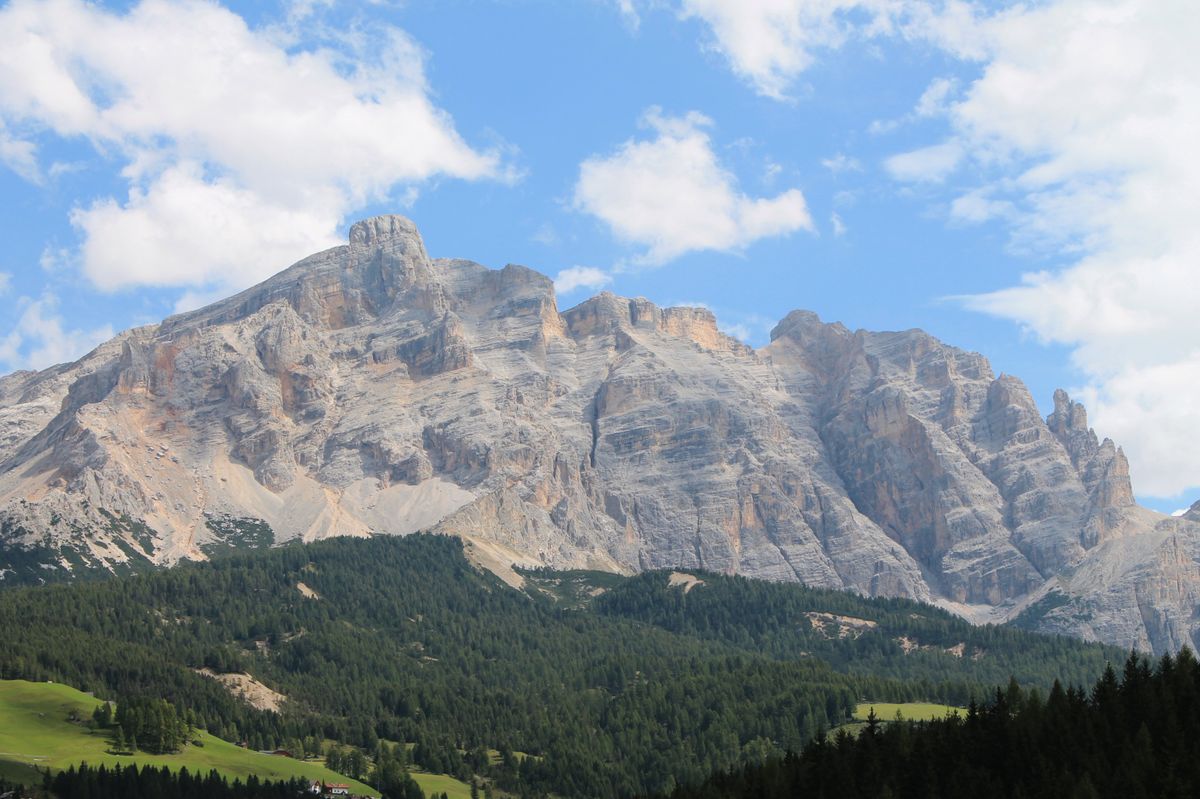
Pralongiá hut out-and-back
From the lift area, use only the broad marked plateau path and turn back early while the whole group remains comfortable. If the lift, trail, weather, or a child's pace is uncertain, replace the outing with another Corvara valley walk. Confirm the exact distance, ascent and descent, walking time, difficulty, numbered route, and current trail and lift status with Alta Badia's official route information, the lift operator, a relevant rifugio, and CAI trail signage before setting out.
Day 6: Lago di Braies & Dobbiaco Area
Full option: a longer lakeshore circuit with steps and narrower uneven sections. Short option: a brief out-and-back on the broader shore. Confirm the exact distance, ascent and descent, walking time, difficulty, and current path status with the official Braies Valley or nature-park authority, a relevant rifugio, and CAI trail signage before setting out.
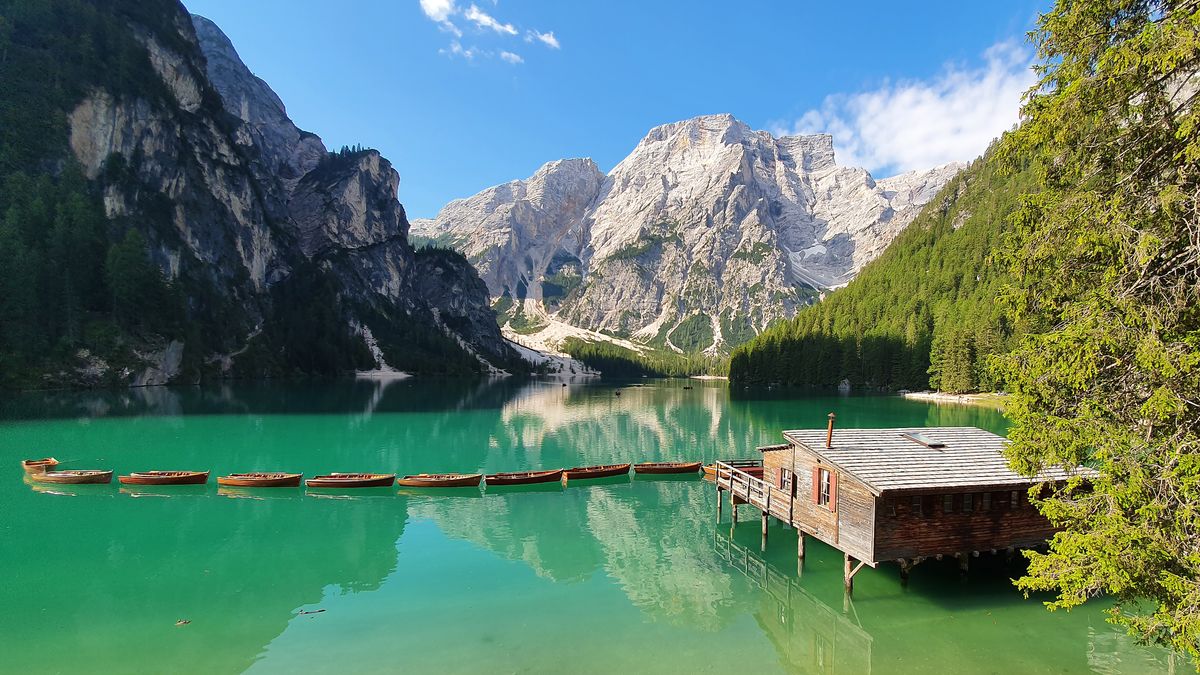
Conditions-dependent Lago di Braies loop
Use the official seasonal access arrangement, then assess the posted lakeshore conditions. The longer circuit includes uneven ground, steps, and narrower sections; reverse or stop if those features do not suit the group. Confirm the exact distance, ascent and descent, walking time, difficulty, and current path status with the official Braies Valley or nature-park authority, a relevant rifugio, and CAI trail signage before setting out.
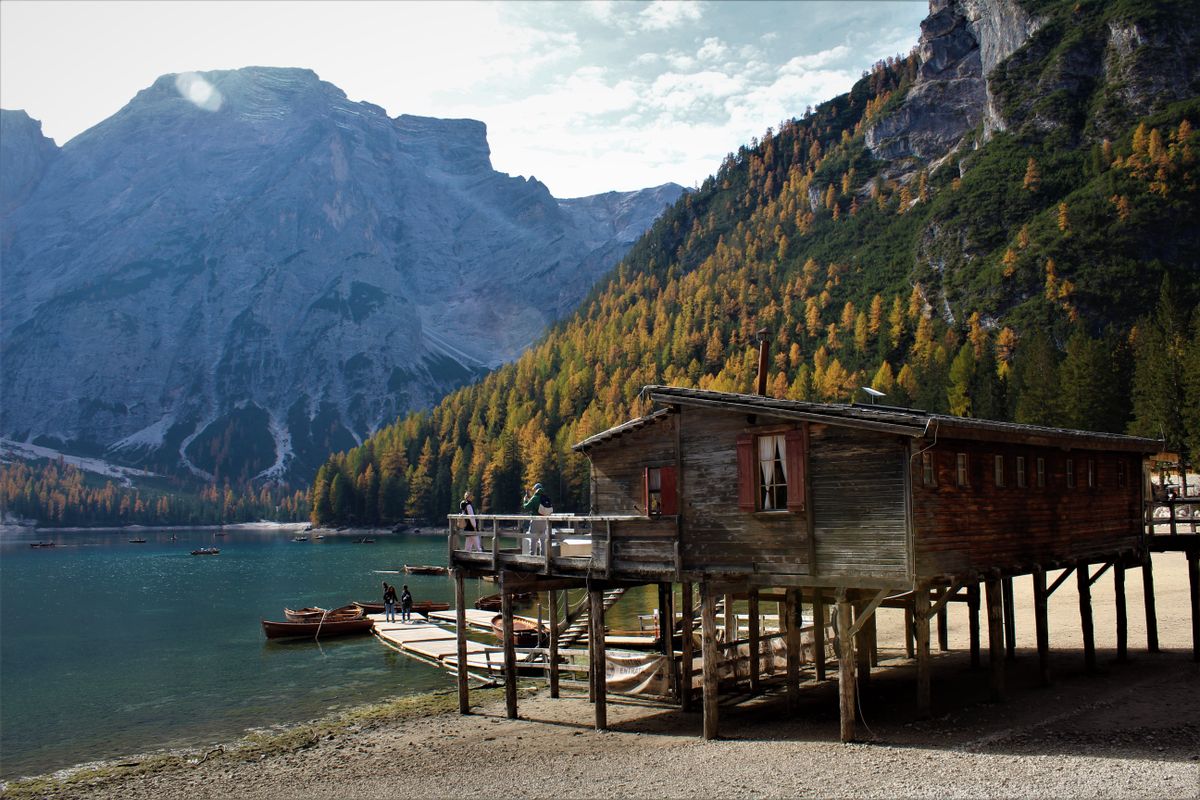
Broad-shore out-and-back
Stay on the broader marked shore path for a brief return walk, turning before steps or narrow terrain. In rain, ice, crowding, or poor footing, view the lake from the arrival area and continue to the accommodation. Confirm the exact distance, ascent and descent, walking time, difficulty, and current path status with the official Braies Valley or nature-park authority, a relevant rifugio, and CAI trail signage before setting out.
Continue to the Dobbiaco area
Use this as a recovery period, not a second hike. Confirm the next day's Tre Cime or Misurina access with the tourism office and cancel the high outing if conditions are doubtful.
Day 7: Tre Cime Viewpoint or Misurina Alternative
Higher option from the Rifugio Auronzo area: a short viewpoint out-and-back with a steady climb, only when officially accessible and conditions are stable. Lower option: a brief Misurina lakeshore walk. Confirm the exact distance, ascent and descent, walking time, difficulty, access deadline, and current trail or lift status with the official local authority, Rifugio Auronzo or relevant operator, and CAI trail signage before setting out.
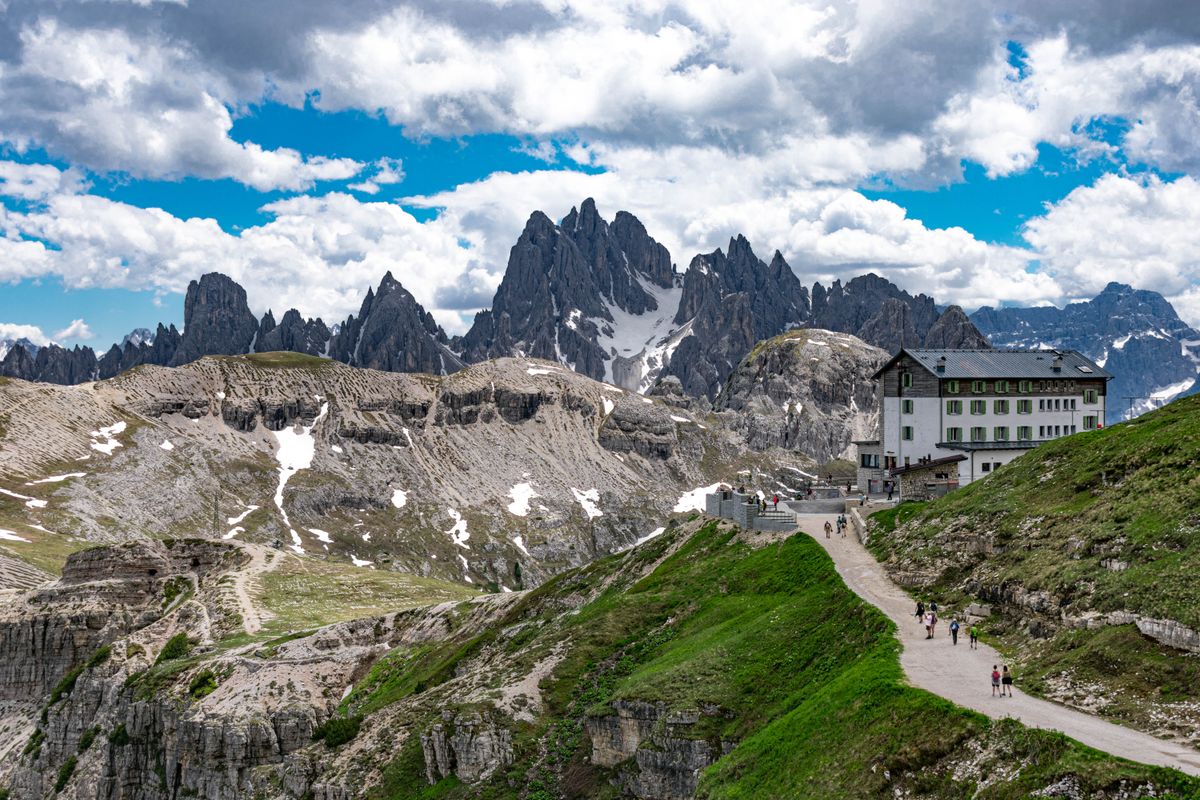
Short Rifugio Auronzo viewpoint out-and-back
Only after confirming road or shuttle access, official weather, current trail status, and the return deadline, follow the marked section toward the Tre Cime viewpoints that official sources and CAI signage confirm appropriate that day. Turn around early and do not attempt the full circuit, exposed extensions, or any via ferrata on this family draft. Confirm the exact distance, ascent and descent, walking time, difficulty, and access status with the official local authority, Rifugio Auronzo or relevant operator, and CAI trail signage before setting out.
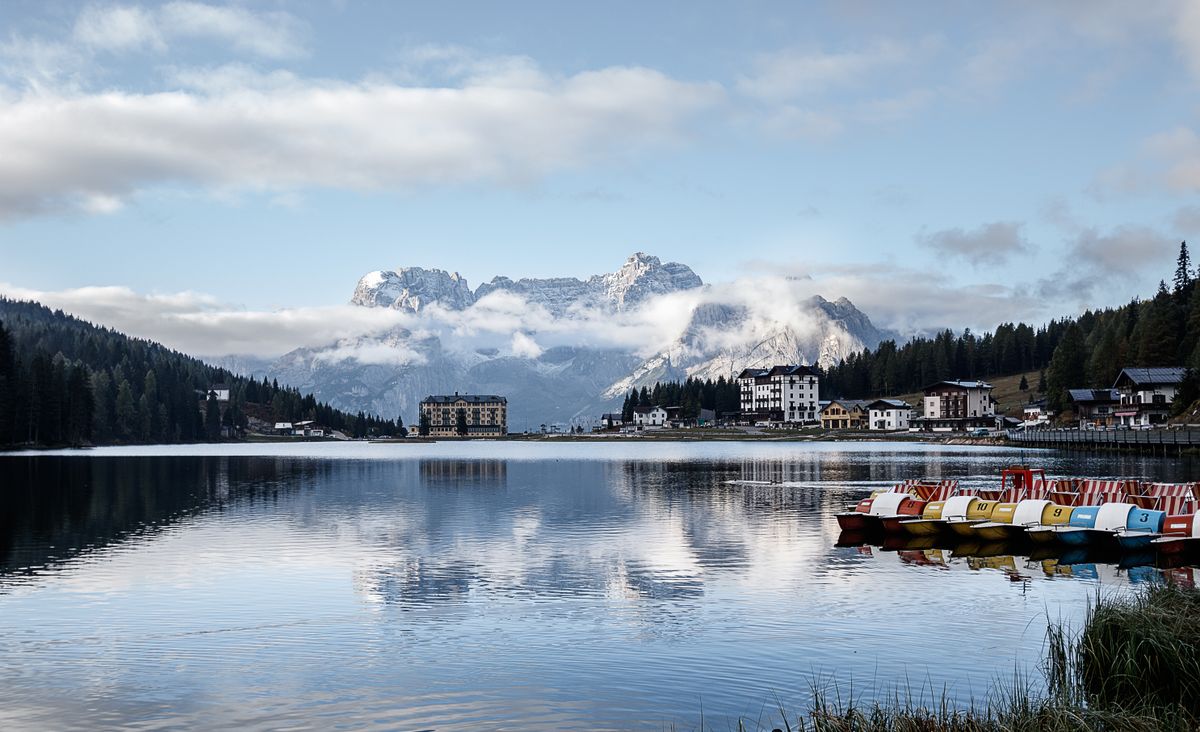
Misurina lakeshore and departure
If high access or weather is unsuitable, choose a brief low-level lakeshore walk, shortening it to an out-and-back if surfaces are wet or busy. Leave a conservative buffer for the onward drive or public transport connection. Confirm the exact distance, ascent and descent, walking time, difficulty, and current path status with the official local authority, a relevant operator or rifugio, and CAI trail signage before setting out.
Route overview
Move east across the Dolomites with short hikes near lift-served plateaus. Road times are weather- and traffic-sensitive; use public transport where practical and recheck mountain-pass conditions.
- 1
Ortisei
Days 1–3 · valley orientation, Alpe di Siusi, Seceda
- 2
Corvara
Days 4–5 · low-level valley recovery and Pralongiá
- 3
Lago di Braies
Day 6 · adjustable lakeshore route
- 4
Misurina / Tre Cime area
Day 7 · conditions-dependent viewpoint before departure
Frequently Asked Questions
What ages is this Dolomites family itinerary for?
There is no universal age cutoff that makes these walks suitable. Children should already have mountain-trail experience, tolerate sustained uneven walking, and follow adult instructions near slopes, roads, livestock, and lifts. Before setting out, ask a qualified local guide or tourism office and confirm the exact distance, ascent and descent, walking time, difficulty, and current trail and lift status through official sources and CAI signage.
Are the walks guaranteed to be easy or safe for children?
No. Difficulty changes with weather, trail damage, snow, mud, crowds, altitude, footwear, fatigue, and each child's experience and pace. Adults must confirm the exact distance, ascent and descent, expected walking time, difficulty, and current trail and lift status with the official nature-park authority, relevant rifugio, lift operator, or CAI signage; supervise continuously; and use a shorter alternative or turn around early whenever the route is not comfortable.
Can we use a stroller on this itinerary?
Do not assume so. Several routes include rough paths, steps, slopes, or lift transitions. Ask each lift operator and local tourism office for a currently open stroller-suitable path, and be prepared to replace the hiking day.
Do we need a car?
A car can simplify the eastbound transfers but is not automatically faster during pass congestion and restricted-access periods. Compare local buses and hotel transfer options, and check official road, parking, shuttle, and seasonal access rules before travel.
What should we do if thunderstorms are forecast?
Do not start a high plateau hike when afternoon thunderstorms are forecast. Choose a low-level activity recommended by the local tourism office or take a rest day. If cloud builds or thunder develops while outside, turn back early and follow local emergency guidance; do not wait on an exposed ridge or shelter near a lone tree.
Should our family hire a guide?
A qualified local mountain guide is appropriate if the adults cannot confidently assess mountain weather, navigation, terrain, or the group's limits. Confirm credentials and discuss children's ages, experience, medical needs, and the planned fallback before booking.
Make this plan your own
Copy this plan into your account in one click — keep the original for reference and edit your copy any way you like.
Sign in once to save and edit your own copy.